Some dear friend's of ours were renovating a historic 1920's home in Nashville which included replacing their interior doors. Never one to miss an opportunity for a project, my husband asked them if we could one of them. As luck would have it, they decided to move back to Atlanta shortly thereafter & brought the door to us. Thanks Betsy & Clay!
This project was very difficult to say the least. It took a lot of planning, materials, tools, tweaking and patience. My husband & I worked together to make this happen and we are so happy with the end result. Enjoy and rest-assured that all of my remaining projects for 2013 will be very light in nature ;)
The original door
We hired a very capable Project Manager (and he is cute to boot)
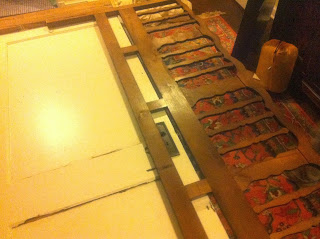
The first few weeks were handled by my husband & entailed things like this:
And this:
And this:
Gotta love a great sanders that your renter leaves behind...
At this point, we thought we had made progress:
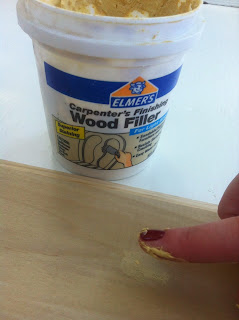
It was my turn to fill in nail holes:
Sand a bit more:
Stain the posts (4 coats of grey stain):
Wax the posts (4 coats)
And apply the antiquing glaze:
After all that, the door looked like this. I went a little over-board with the antiquing glaze. Darn it..
So, I brought in a backup for advice:
Luckily, I had a nice acrylic paint on hand in a yummy buttermilk color:
I sponge-painted the entire door to soften the "dirty" look. I then went back & added more buttermilk paint just to the center of each piece to make the edges appear darker:
We're almost there:
This is the headboard we have been using for many years. It belonged to my husband's family so we wanted to incorporate it into our new headboard:
We carefully attached it to the back of the new headboard:
After up-righting it, we attached it to the wall:
And we LOVE it!!


.jpg)


0 comments:
Post a Comment